
We spotted these adorable little bow ties at Target & also a local pet store for dogs & we had to have one! But I had such a hard time spending $6-$14 on one! {weird I know, but I knew there had to be a cheaper way} I told Betsy that we were going to create our own! So that is exactly what we did!! This is a great project for little fabric scraps you may have laying around! Also it is a great little project to do with your kids {as long as you are the one operating the glue gun} Betsy and I had a blast! After we made a couple we were adding bobby pins to them to use as little boys bow-tie, ADORABLE, and also in a little girls hair! One can seriously have so much fun with these!! Here is what you need to get started:

What you need:
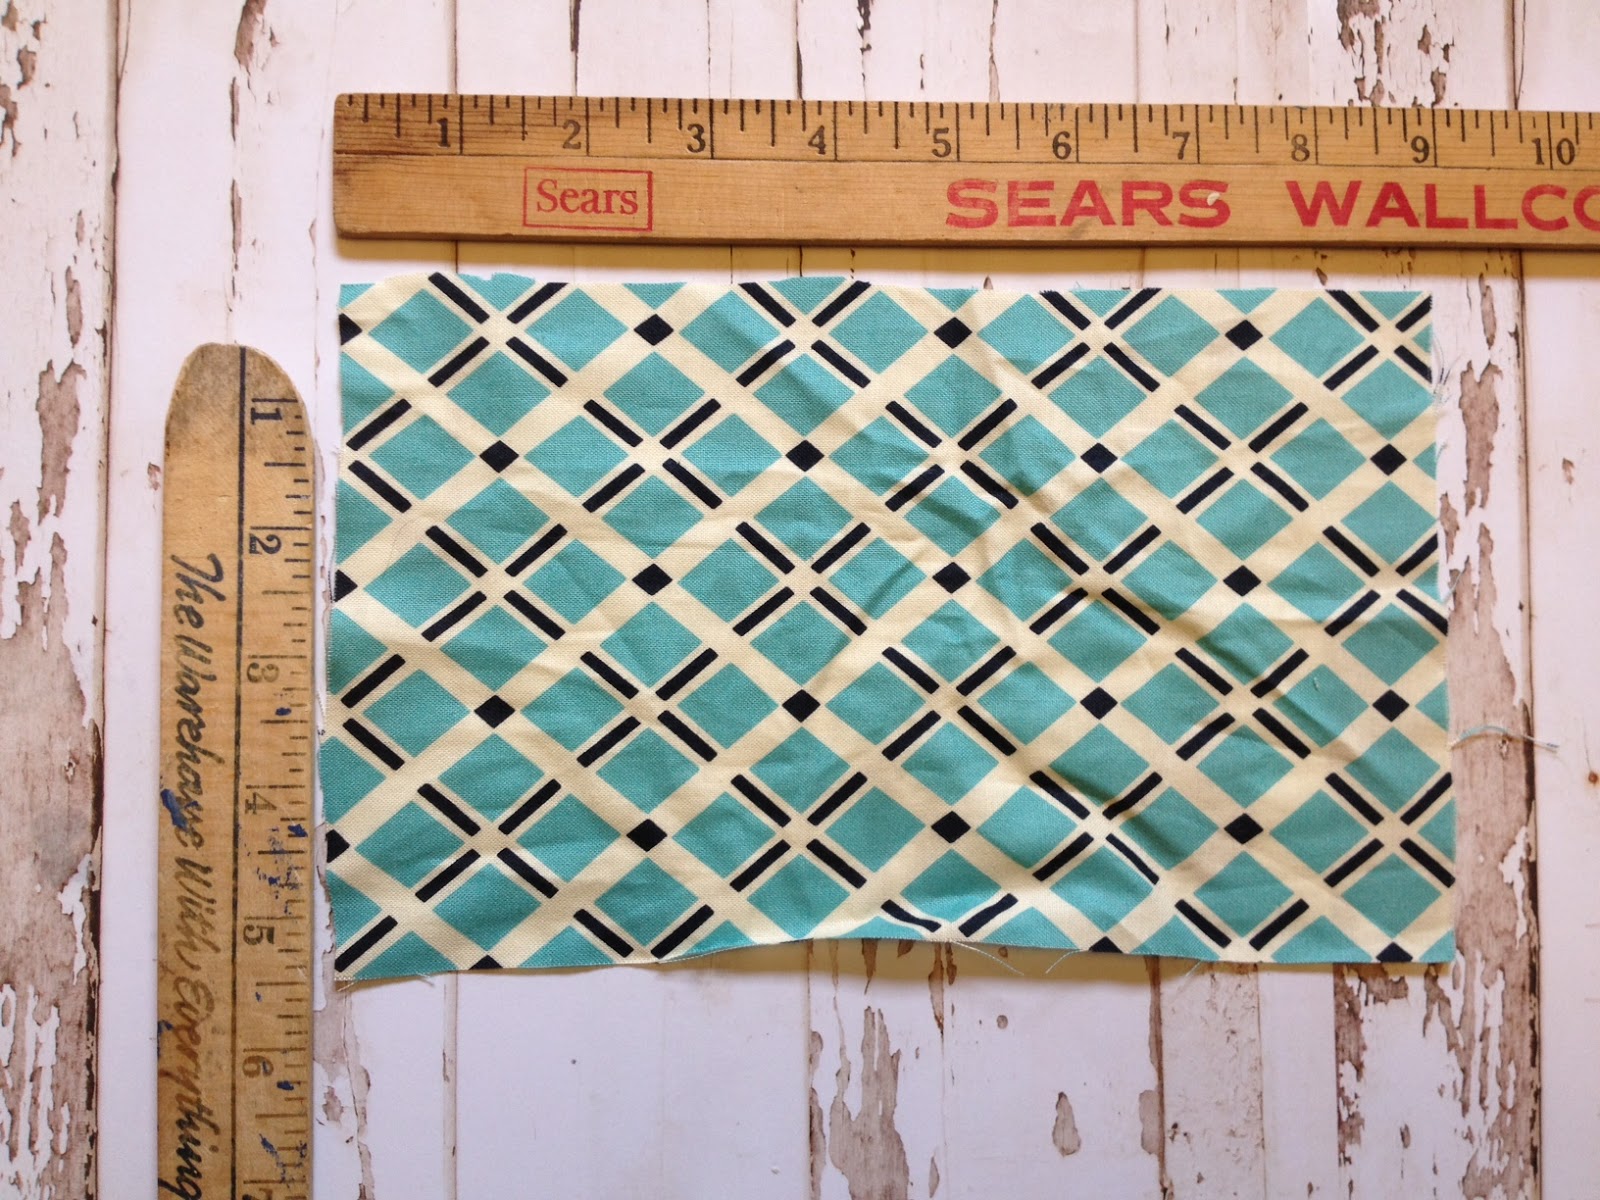
Fabric {roughly 9 in x 5.5 in}
Glue gun
glue sticks
scissors
elastic {if making for a doggie collar}
Bobby pin {if making a hair clip or for little boy}
Cut out a piece of your fabric so it roughly measures 9x5 inches. Also cut a little extra piece that is about 2 inches long that will be your center of the bow-tie.

Start up that glue gun and get prepared to glue!

Fold the other half over and glue down.

Take one side and fold in half. Glue Down.


Glue your elastic in a little circle and now glue that down to your bowtie in back!! {I had elastic that was probably 1/2 thick I even cut that in half so it wasn't so thick, you just need a little piece and it truly needs to be a small circle so it fits snuggly against the collar.}


Attach to collar! Such an adorable photo prop! Our Little Charles sports his collar with pride!

.JPG)
Here a couple examples our other ideas!
.JPG)
Run with it! Share with other ideas that we may have missed! Thanks for stopping by!
xoxo Katie
The White House Girls


