Friday, July 19, 2013

No Sew {DIY} BowTie

 
We spotted these adorable little bow ties at Target & also a local pet store for dogs & we had to have one!  But I had such  a hard time spending $6-$14 on one! {weird I know, but I knew there had to be a cheaper way}  I told Betsy that we were going to create our own!  So that is exactly what we did!!  This is a great project for little fabric scraps you may have laying around!  Also it is a great little project to do with your kids {as long as you are the one operating the glue gun} Betsy and I had a blast!  After we made a couple we were adding bobby pins to them to use as little boys bow-tie, ADORABLE, and also in a little girls hair!  One can seriously have so much fun with these!!  Here is what you need to get started:


What you need:
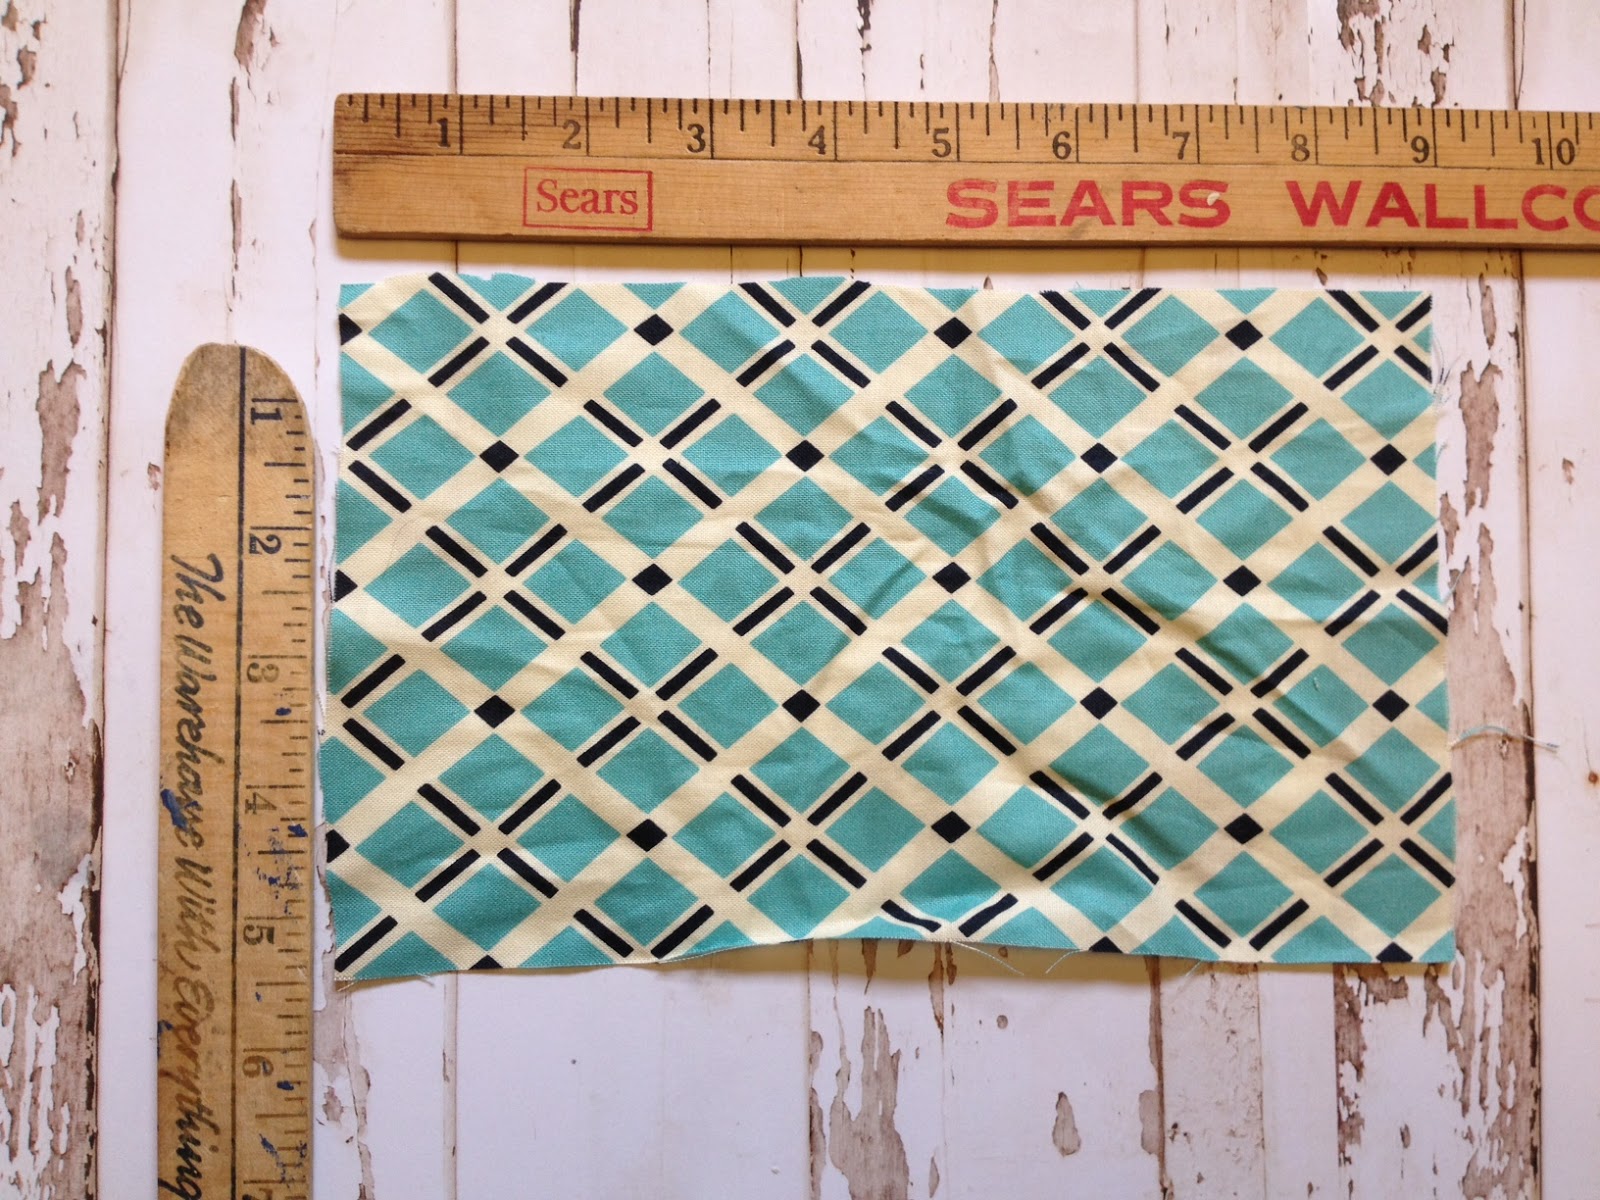
Fabric {roughly 9 in x 5.5 in}
Glue gun
glue sticks
scissors
elastic {if making for a doggie collar}
Bobby pin {if making a hair clip or for little boy}

Cut out a piece of your fabric so it roughly measures 9x5 inches.  Also cut a little extra piece that is about 2 inches long that will be your center of the bow-tie. 

Start up that glue gun and get prepared to glue! 

Fold the other half over and glue down.

Take one side and fold in half. Glue Down.
Now take the  other overlapping a little and glue down.  You are getting so close to being complete!
If you pinch the middle you will see your bow tie coming together!!

The  little piece that you cut out for the middle I glued the sides in so it creates a nice seam!
Wrap around bow-tie and glue down in back where your seam is!


Glue your elastic in a little circle and now glue that down to your bowtie in back!! {I had elastic that was probably 1/2 thick I even cut that in half so it wasn't so thick, you just need a little piece and it truly needs to be a small circle so it fits snuggly against the collar.}


Attach to collar!  Such an adorable photo prop!  Our Little Charles sports his collar with pride! 

Here a couple examples our other ideas! 


 Run with  it!  Share with other ideas that we  may have missed!  Thanks for stopping by!
xoxo Katie
The  White House Girls


Tuesday, July 16, 2013

Chair Updizzle

Before
Add some Aqua water paint by Behr and some chevron fabric you got yourself a new chair!
After

Monday, July 15, 2013

Jute Wrapped Desk Lamp {DIY}

Here is my inspiration.....ahhhh swoon.....
This can cost you though a hefty price tag of 55$! But it is adorable! So I wanted to do something similar to this guy I got at a thrift store for $2! And it screamed MAKE ME PRETTY!!
It had this black base bottom thingy that I wanted to jute dazzle!
What you will need
1.Scissors
2. Jute (you can buy at any local hardware/walmart store for a couple bucks)
3.Glue gun and glue


So you plug in your glue gun and wait for it to warm up. You then put glue on the lamp and you wrap your jute around the stem of the lamp. I do a little area at a time so that the glue does not harden. Make sure to pull the jute tight so that it wraps nicely around the stem of the lamp.
 
You continue to do this until you reach the top of your designated area. When you are finished wrapping it you cut the jute off with the scissors then glue the remaining end of the string of jute onto the lamp. Yep and your done! Its so easy I tell you what! And it makes it look a million times better! I might want to do this to another larger lamp and get a bit more daring? Stay tuned.........


Thursday, June 27, 2013

Proud owners of a 1970's Lark.... {Vintage Camper}

Yes that's right.....we are proud owners of this beauty!  It all stemmed from a couple incidents: one I bought a really cute vintage tiny charcoal grill{at a garage sale for $3} which I pictured every so cutely paired with a vintage camper! Haha! And the big one was our children are getting to the age where we can go camping as a family!  And as embarrassing as it is to admit being I was born and raised on a farm I am just not a tent camper!! I am a wuss! So I kept seeing  these adorable vintage campers and I needed one! So the research began! The more I looked into them I realized that they barely stayed on the market for 48 hours! I kept writing leads but they would already be sold! I posted on our Facebook page that we were on the hunt and that is where we came across this beauty!
                 See can't you picture this grill in a cute little camper......
Here are her before pictures:
 
A 70's Lark! She definitely needs some love! My husband kept exchanging looks with me during the purchase. It was stinky and beaten! But we could both see the potential! Everything worked such as the stove, fridge, and lights; that was a major plus!  So she became ours!! Our first step was to name her!  We have came up with a couple "Ruby & Dixie" we will see if one of those stick! 
The kids are in love with it! They have been playing Burger King, they have to say good night to her, and I can't wait to create memories with her!! 
I have created a mood board and will update you all with her progress! So far we have wiped her down and given half of her, her first paint job! So excited to glam her up and to go Glamping!! Would love to hear stories or others share your experience with vintage trailers/campers! Xoxo Katie 

 
Betsy is starting to give her a new paint job!
 

 We are thinking this vintage blue will be the new color or the exterior stripe!
Thanks for stopping by!